Let's face it...no one likes messy handwriting. This little pack has been in the works for over a year and I finally finished it this summer. Woohoo!
I like it because these are simple pages that can be finished without too much time spent. Plus, there's an element of fun in each one instead of just copying and copying and copying.
I like it because these are simple pages that can be finished without too much time spent. Plus, there's an element of fun in each one instead of just copying and copying and copying.


Here's the little incentives that my students get when they do a GREAT job.
These are saved for students who may have not been doing their best, but they finally TRY really hard and get it! Or, for someone who doesn't rush through and works hard. And, yes, those students who usually always have neat handwriting get these from time to time. This just mixes things up and lets them use a different writing tool.
These are saved for students who may have not been doing their best, but they finally TRY really hard and get it! Or, for someone who doesn't rush through and works hard. And, yes, those students who usually always have neat handwriting get these from time to time. This just mixes things up and lets them use a different writing tool.

I needed some really simple posters without pictures and words to show my kiddos where the letters sit on the line, which letters are tall and which ones are small, and the ones that hang. I also use these to talk about lines and curves and the different strokes made to form each letter.

I came up with these fun little poems to recite each day (or every day or so...) when we start our handwriting time.

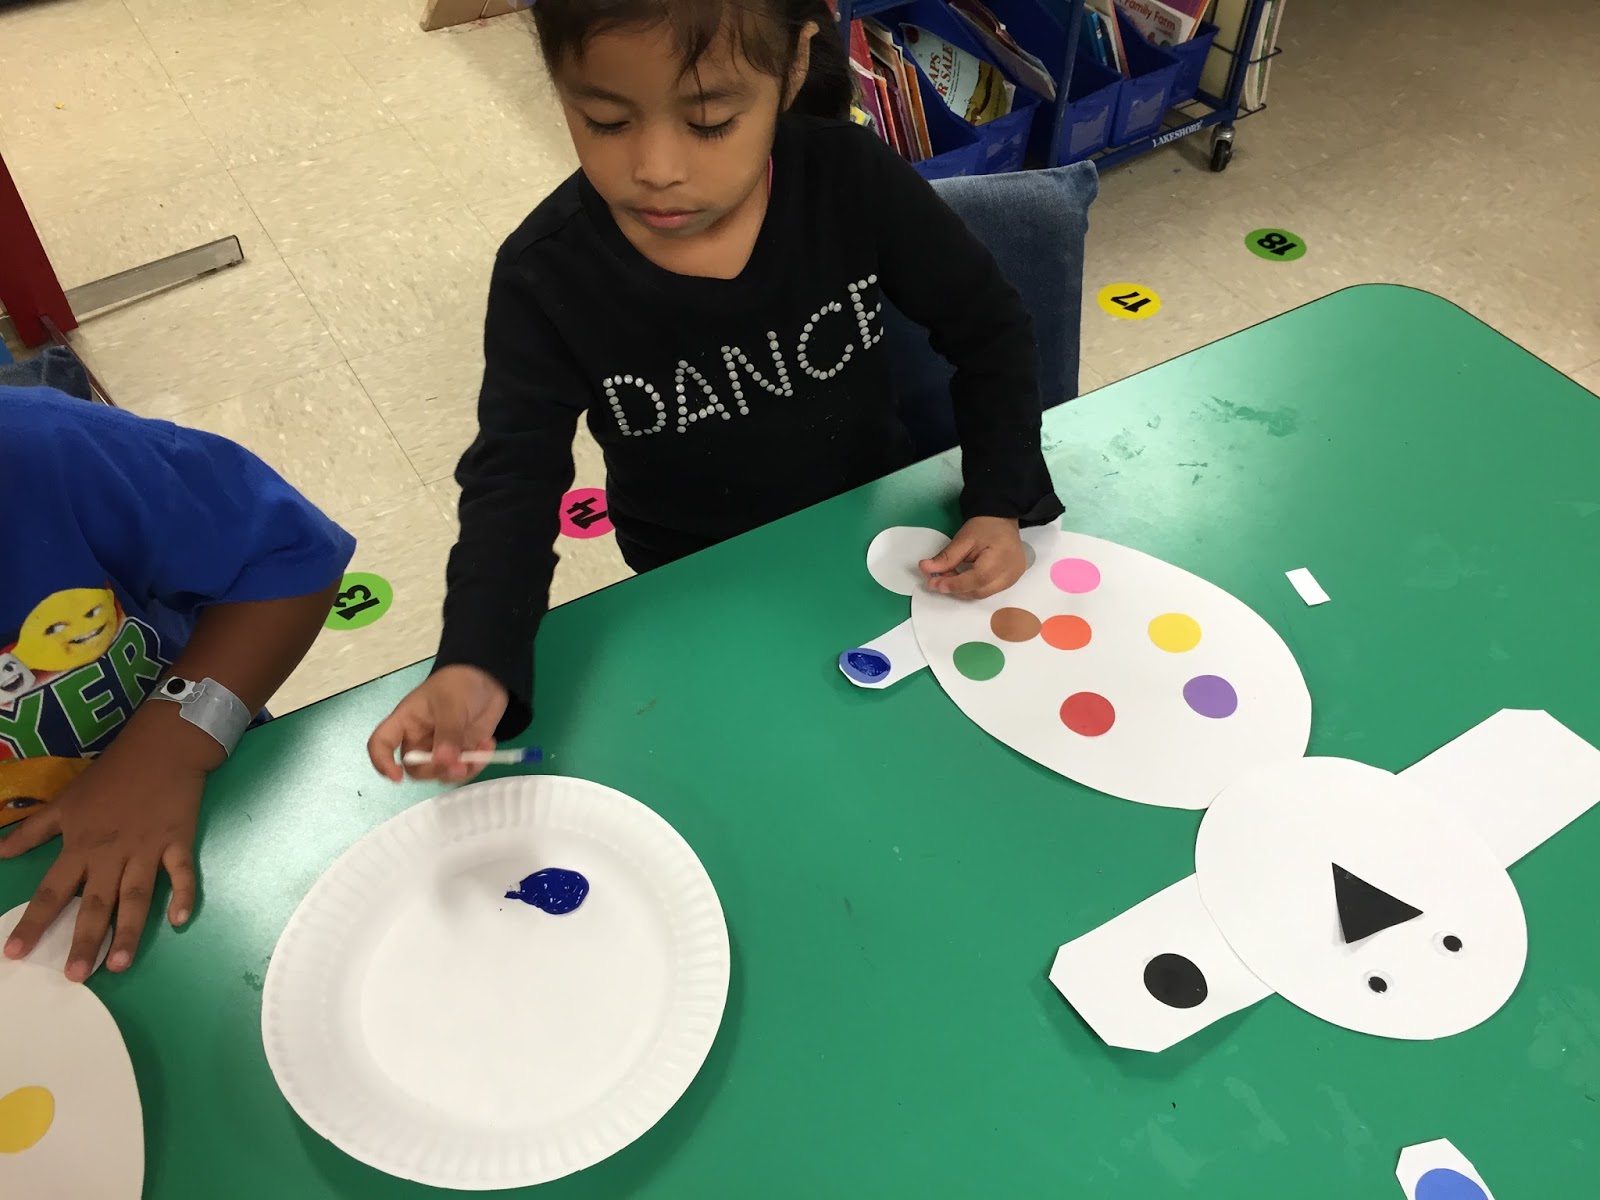
This is probably our favorite guided handwriting page we do as a class. This is the page we do on Monday. First, we start out with letter strokes using a pencil. We talk about how we need to learn how to make these strokes correctly so we can write letters, words, sentences, stories, and EVEN to draw pictures! They really begin to see how letters are made up of lines, curves, diagonals, and circles.
Then, we do the whole page TOGETHER. I do not put this in a center because I need to see if my kids are making the letters correctly. The first (and maybe the next) time we do this we talk about how we are going to use the colors in rainbow order. My kids are already familiar with rainbow order because we build rainbow for behavior. SCORE!
If your kids aren't familiar you just tell them which color to start with and so forth. They learn it QUICKLY!
Here's how the rest of the lesson would go:
Me: I say, "marker at the top" then I say "ready?"
Kids: say, "spaghetti".
Me: I model the FIRST stroke and say this (for M) "straight line down"
Kids: they say and trace the straight line down
Me: I say, "hop to the top" and I show how to go back to the top
Kids: they say, "hop to the top" and do it
Me: I say, "down up down" modeling how to form the letter
Kids: they say, "down up down" tracing the rest of the letter.
Me: I say, "say M"
Kids: "M"
Me: I say, "say /m/"
Kids: "/m/"
We do the same exact thing as above for EACH uppercase letter.
Then, for lowercase it's the same exact routine except we say, "straight line down, bump, bump."
We say M and /m/ after EACH letter. This reinforces the name of the letter and the sound.
At the bottom we talk about the pictures that begin with Mm and the get to choose any color to trace the lowercase m.
My kids love this time. After saying the letter phrases 6 times for each letter they "get it".

 Here's another fun game. Students spin the letter spinner and the color spinner using a paper clip. Then, write either upper or lower case letter using the matching color. I suggest laminating first, then using a vis a vis marker to write on and wipe off the letter you are working on.
Then, we do the whole page TOGETHER. I do not put this in a center because I need to see if my kids are making the letters correctly. The first (and maybe the next) time we do this we talk about how we are going to use the colors in rainbow order. My kids are already familiar with rainbow order because we build rainbow for behavior. SCORE!
If your kids aren't familiar you just tell them which color to start with and so forth. They learn it QUICKLY!
Here's how the rest of the lesson would go:
Me: I say, "marker at the top" then I say "ready?"
Kids: say, "spaghetti".
Me: I model the FIRST stroke and say this (for M) "straight line down"
Kids: they say and trace the straight line down
Me: I say, "hop to the top" and I show how to go back to the top
Kids: they say, "hop to the top" and do it
Me: I say, "down up down" modeling how to form the letter
Kids: they say, "down up down" tracing the rest of the letter.
Me: I say, "say M"
Kids: "M"
Me: I say, "say /m/"
Kids: "/m/"
We do the same exact thing as above for EACH uppercase letter.
Then, for lowercase it's the same exact routine except we say, "straight line down, bump, bump."
We say M and /m/ after EACH letter. This reinforces the name of the letter and the sound.
At the bottom we talk about the pictures that begin with Mm and the get to choose any color to trace the lowercase m.
My kids love this time. After saying the letter phrases 6 times for each letter they "get it".


Another game we play is Practice Makes Perfect. You can use the spinner you see below to write on the letter you are using OR you can throw letters in a pocket cube like I did.


My kids love this game because they get to use 3 tools for writing...pencil, crayon, and marker. This is another semi-guided paper we do. I walk around and observe. I love it, because I can hear my kids saying the "phrases" we practice for each letter.

I just kinda make up my own phrases for forming each letter. This helps them understand which stroke to make...straight line down, diagonal line, bumps, or circle around. Plus, it's just more fun!
What do you do for handwriting?
Hopefully this post inspires your handwriting time with your own kiddos.